Beginner’s Guide to Painting a “Hello Autumn” Door Hanger
Sep 29, 2025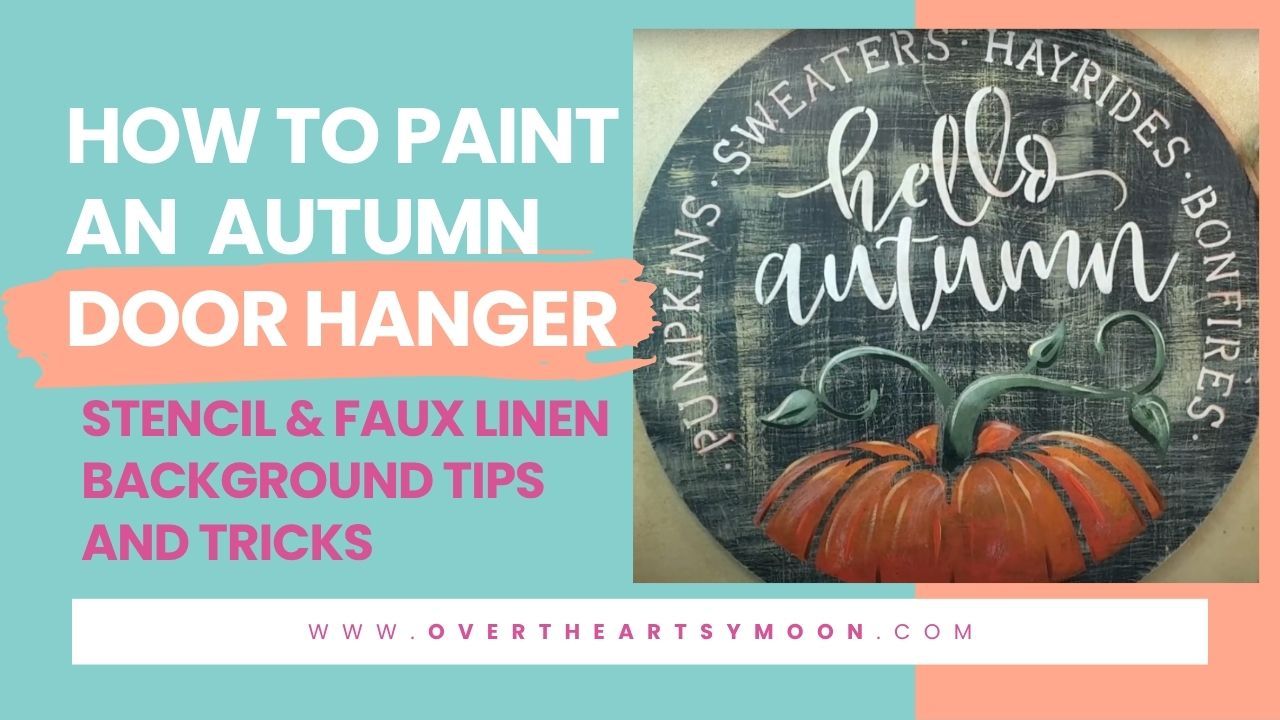
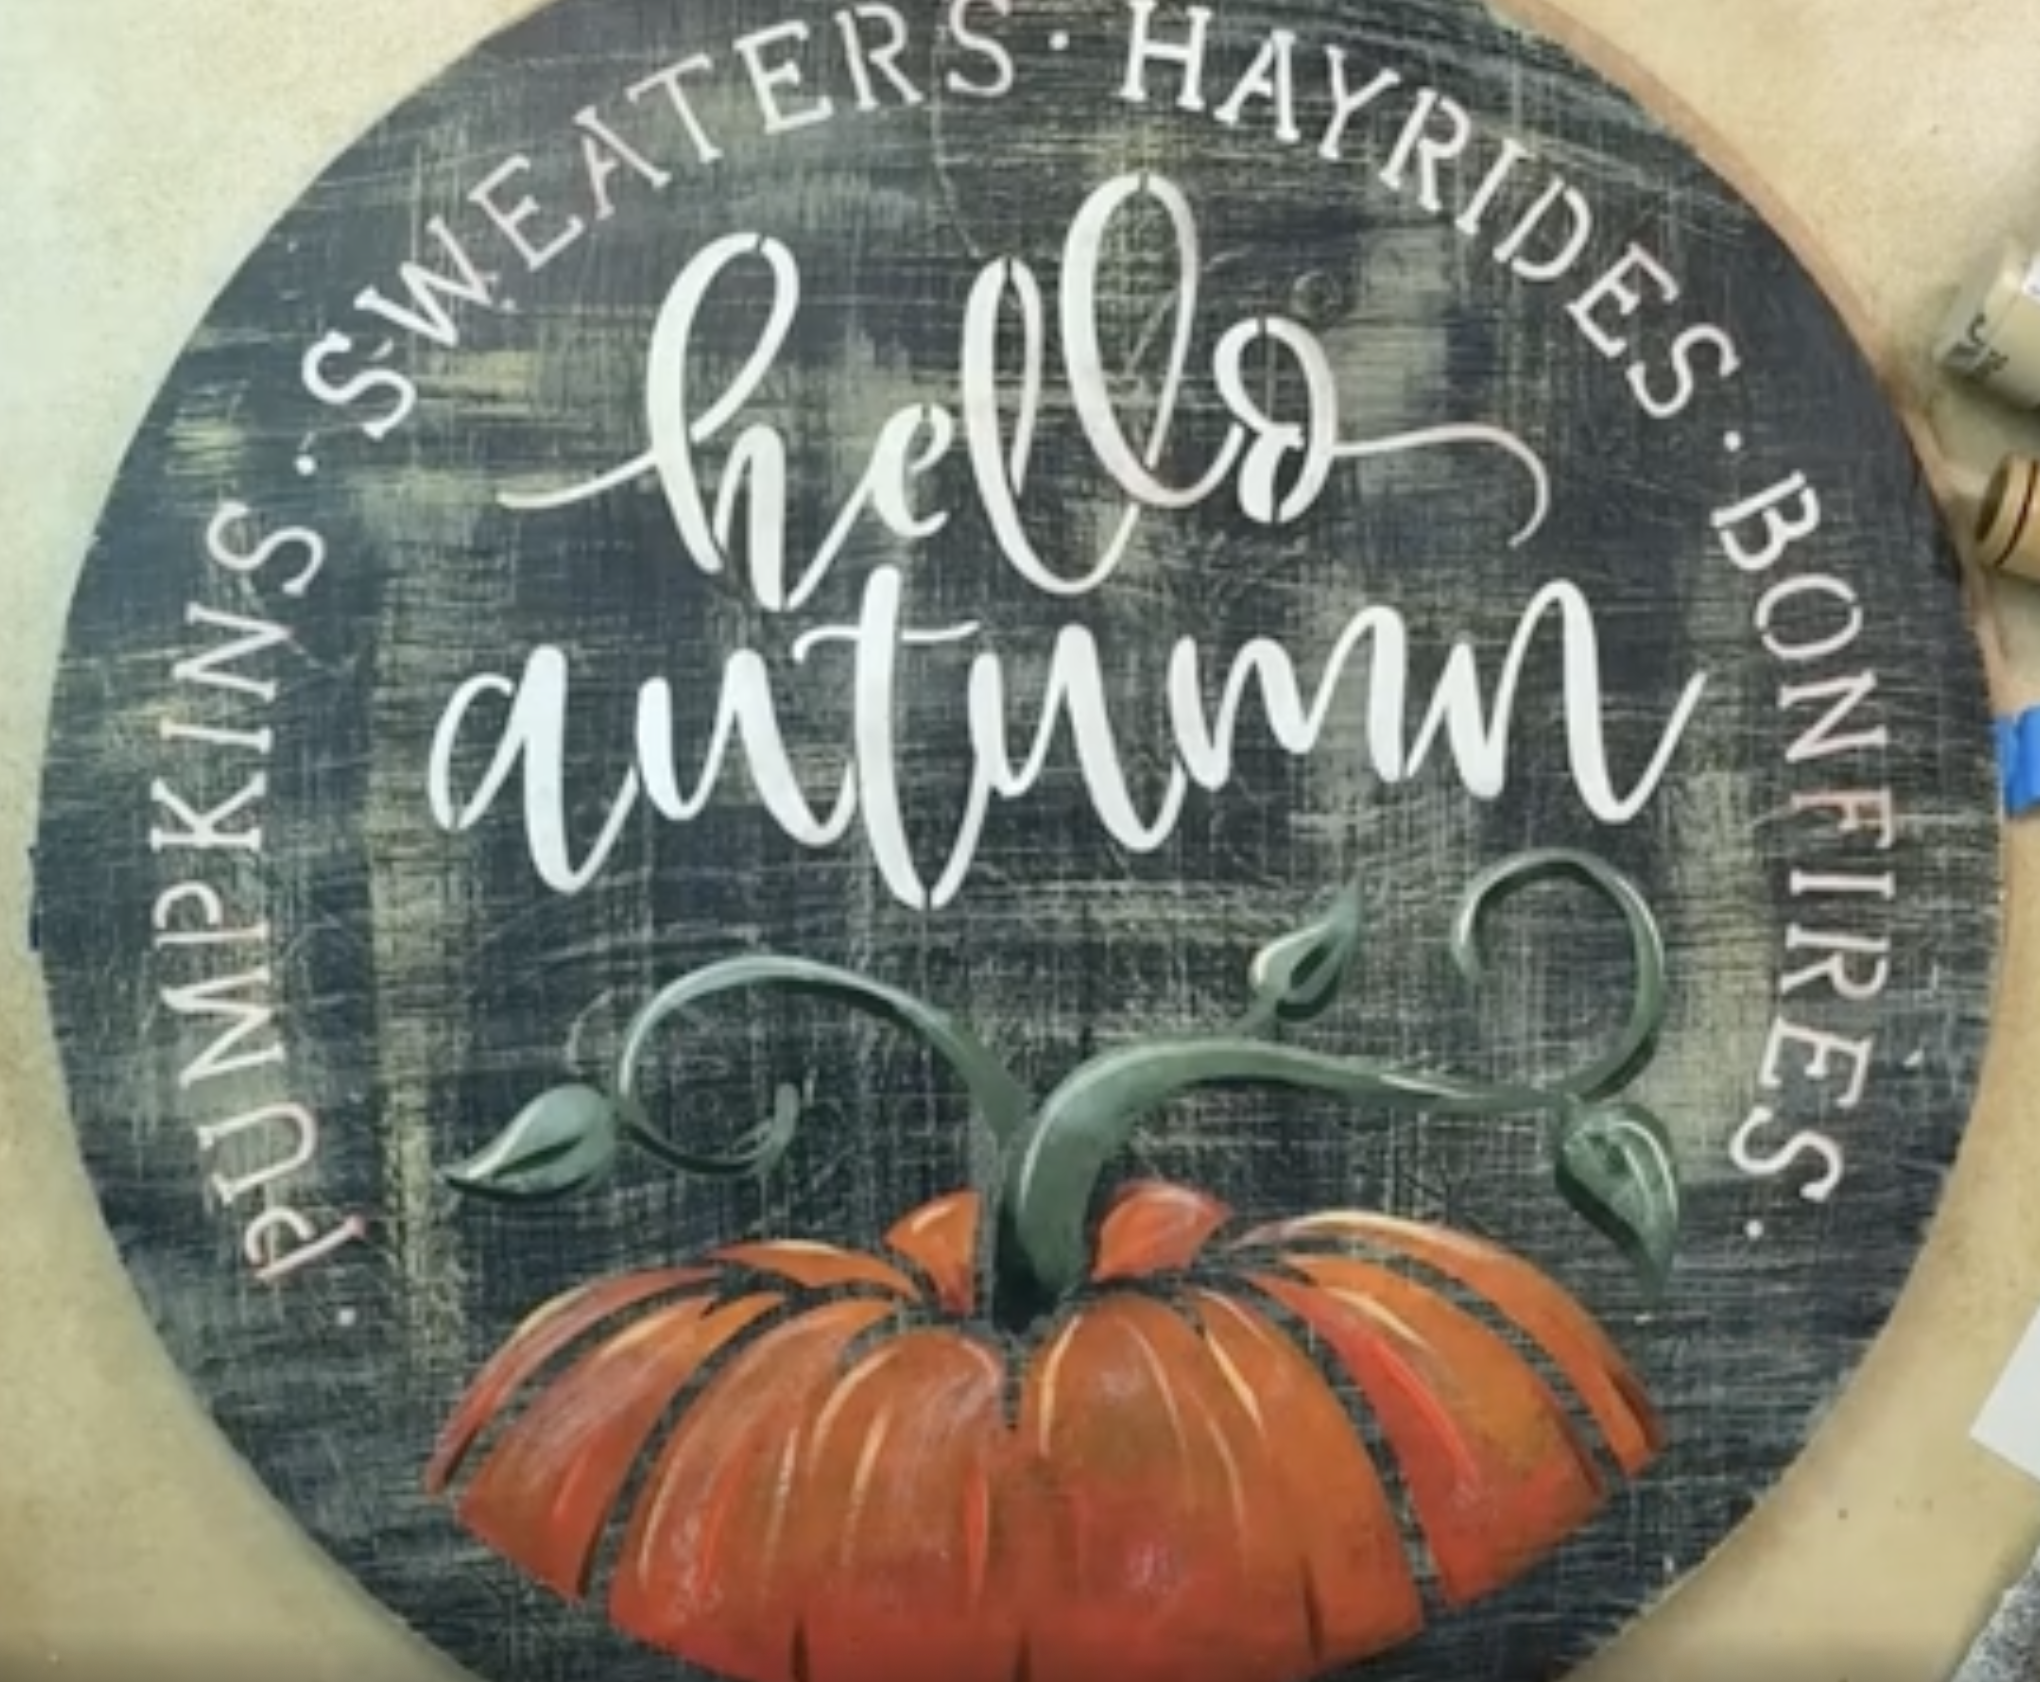
Hi, I’m Karen with Over The Artsy Moon! Today, I’m excited to walk you through painting this lovely “Hello Autumn” door hanger. Whether you’re a seasoned painter or a beginner, this tutorial found here on YouTube will show you how to create a charming, autumn-themed decoration with fun textures and vibrant colors.
Today we’re painting with a fall stencil from StencilSmith, a wonderful U.S.-based company known for their high-quality stencils in a variety of sizes. You can use my discount code ARTSYMOON for 15% off your order. As an affiliate, I may earn a small commission if you purchase using my discount code.
Step 1: Preparing Your Background
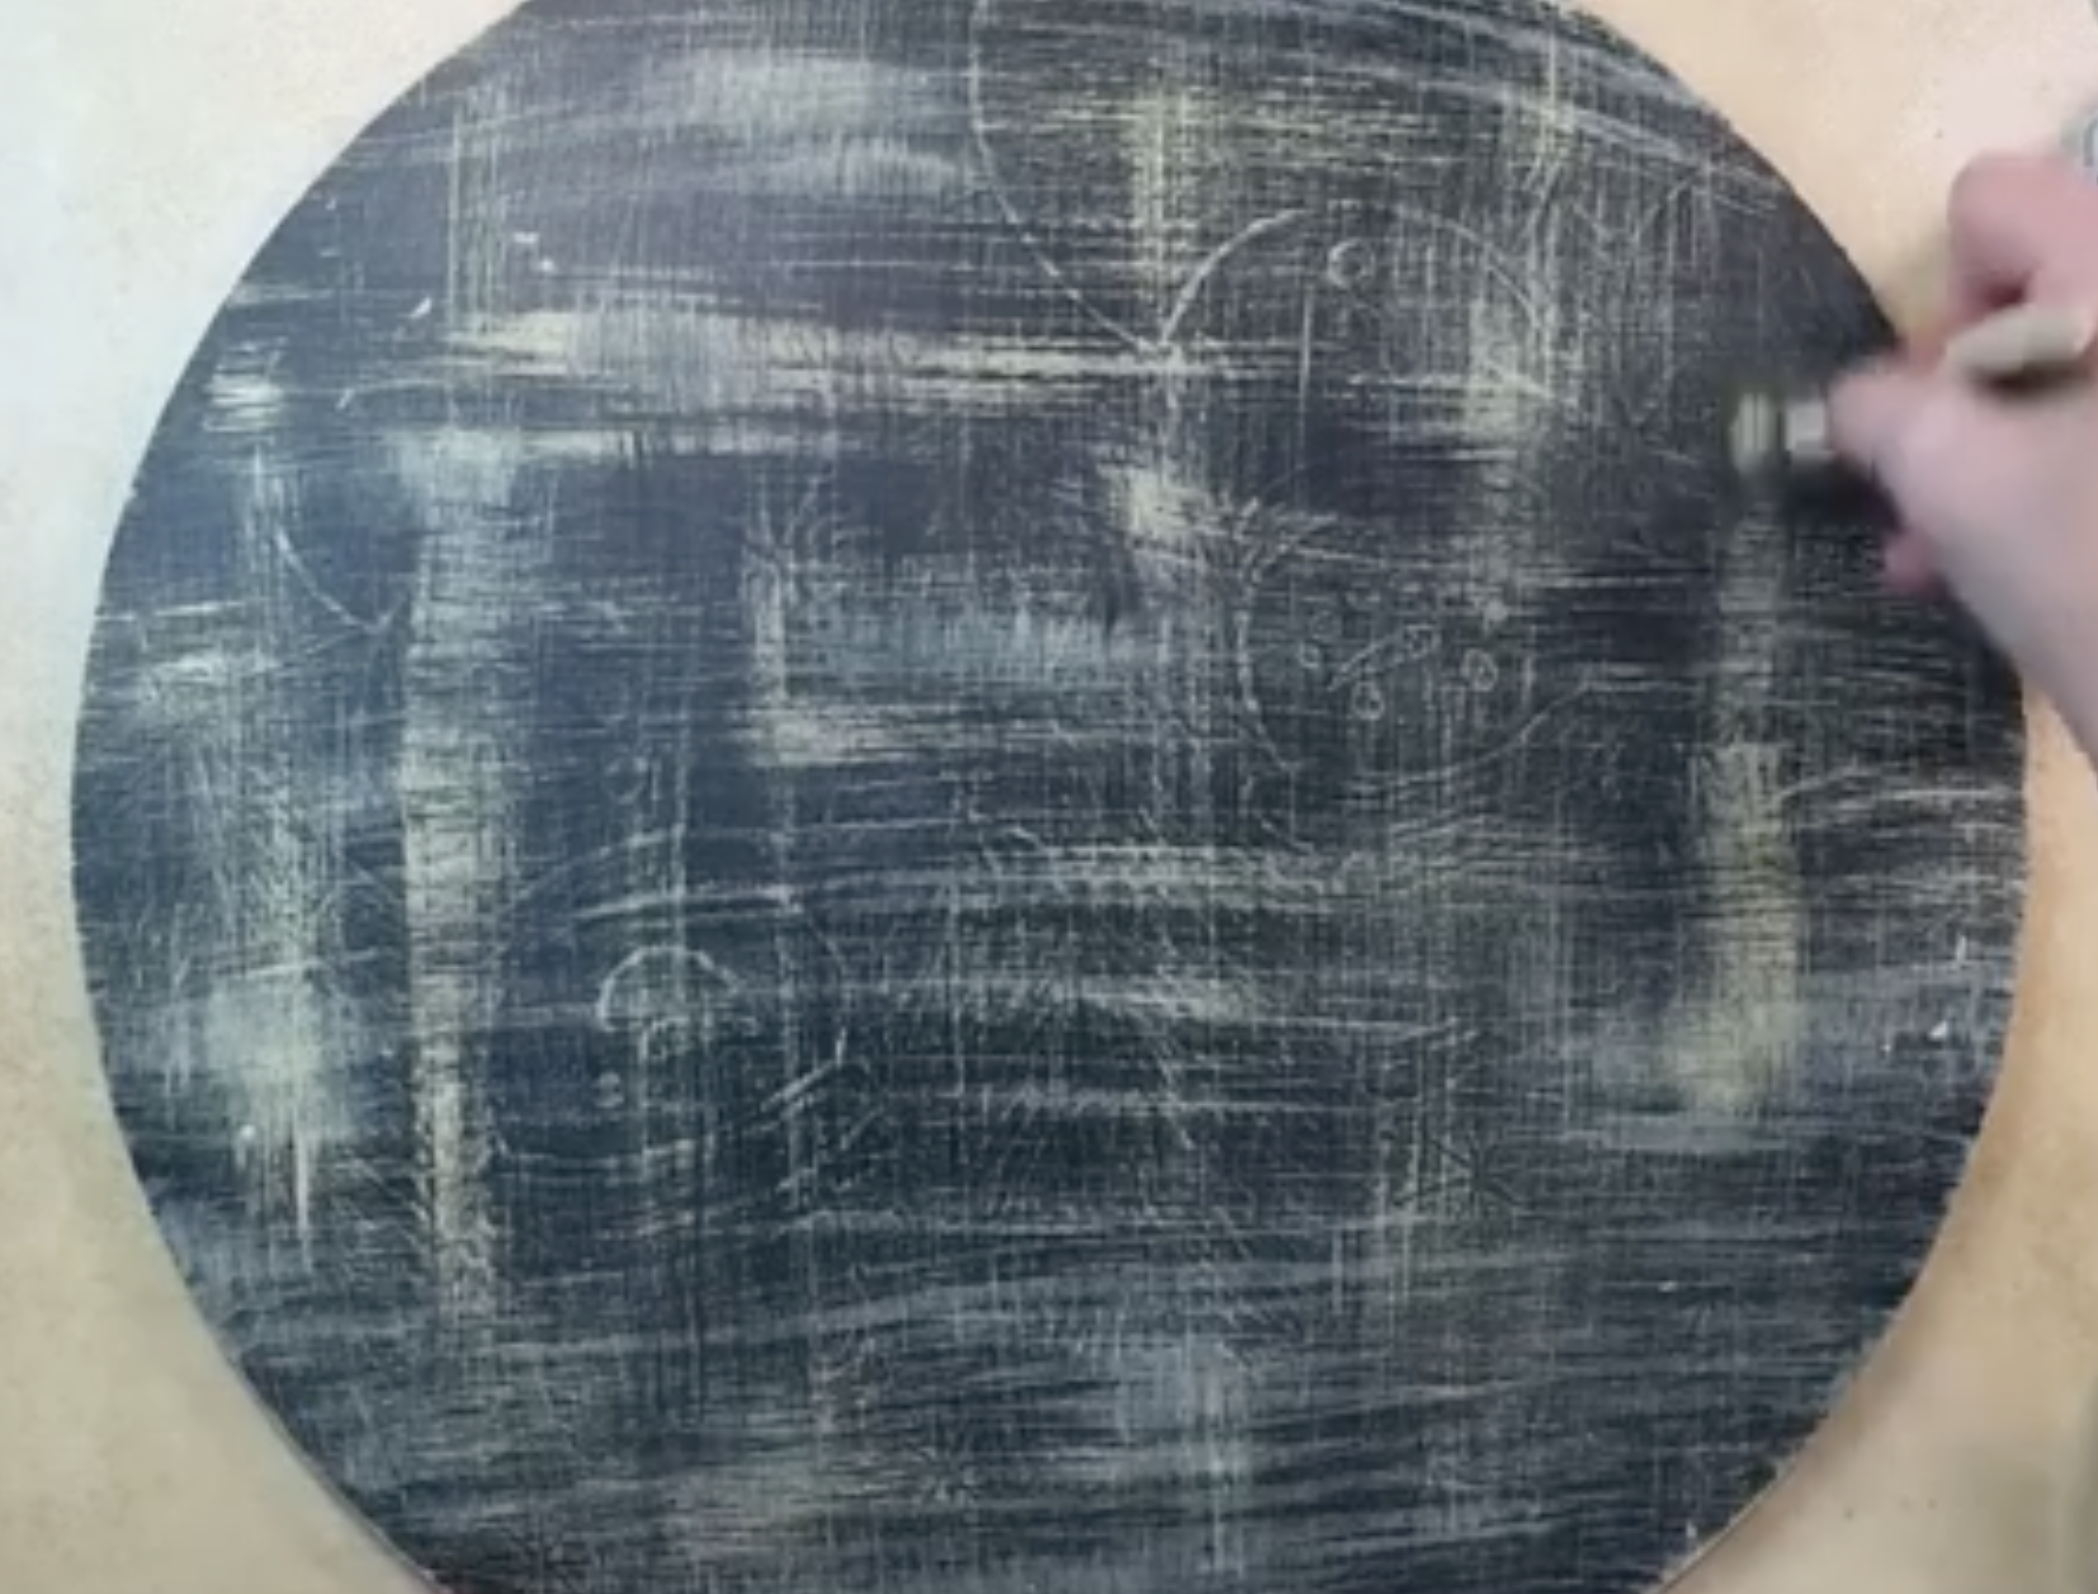
I started with a roughed-up background—a previously painted surface that had some scratches. Instead of tossing it aside, I decided to make it work by creating a linen-like finish. Using a scruffy chip brush, I applied a beige paint called Camel by FolkArt. You can use any similar color.
The key here is to use a dry brush technique: dab the paint lightly on the brush tips and apply it in a gentle back-and-forth motion. Add a little water to thin it slightly if needed, but avoid making the brush too wet. For a more textured look, try going in different directions—horizontally, then vertically—to mimic the feel of linen.
Don’t worry about imperfections; part of the charm is the rustic, weathered look. You can even come back with a little black paint to soften any spots that feel too heavy.
Step 2: Stenciling the Pumpkin
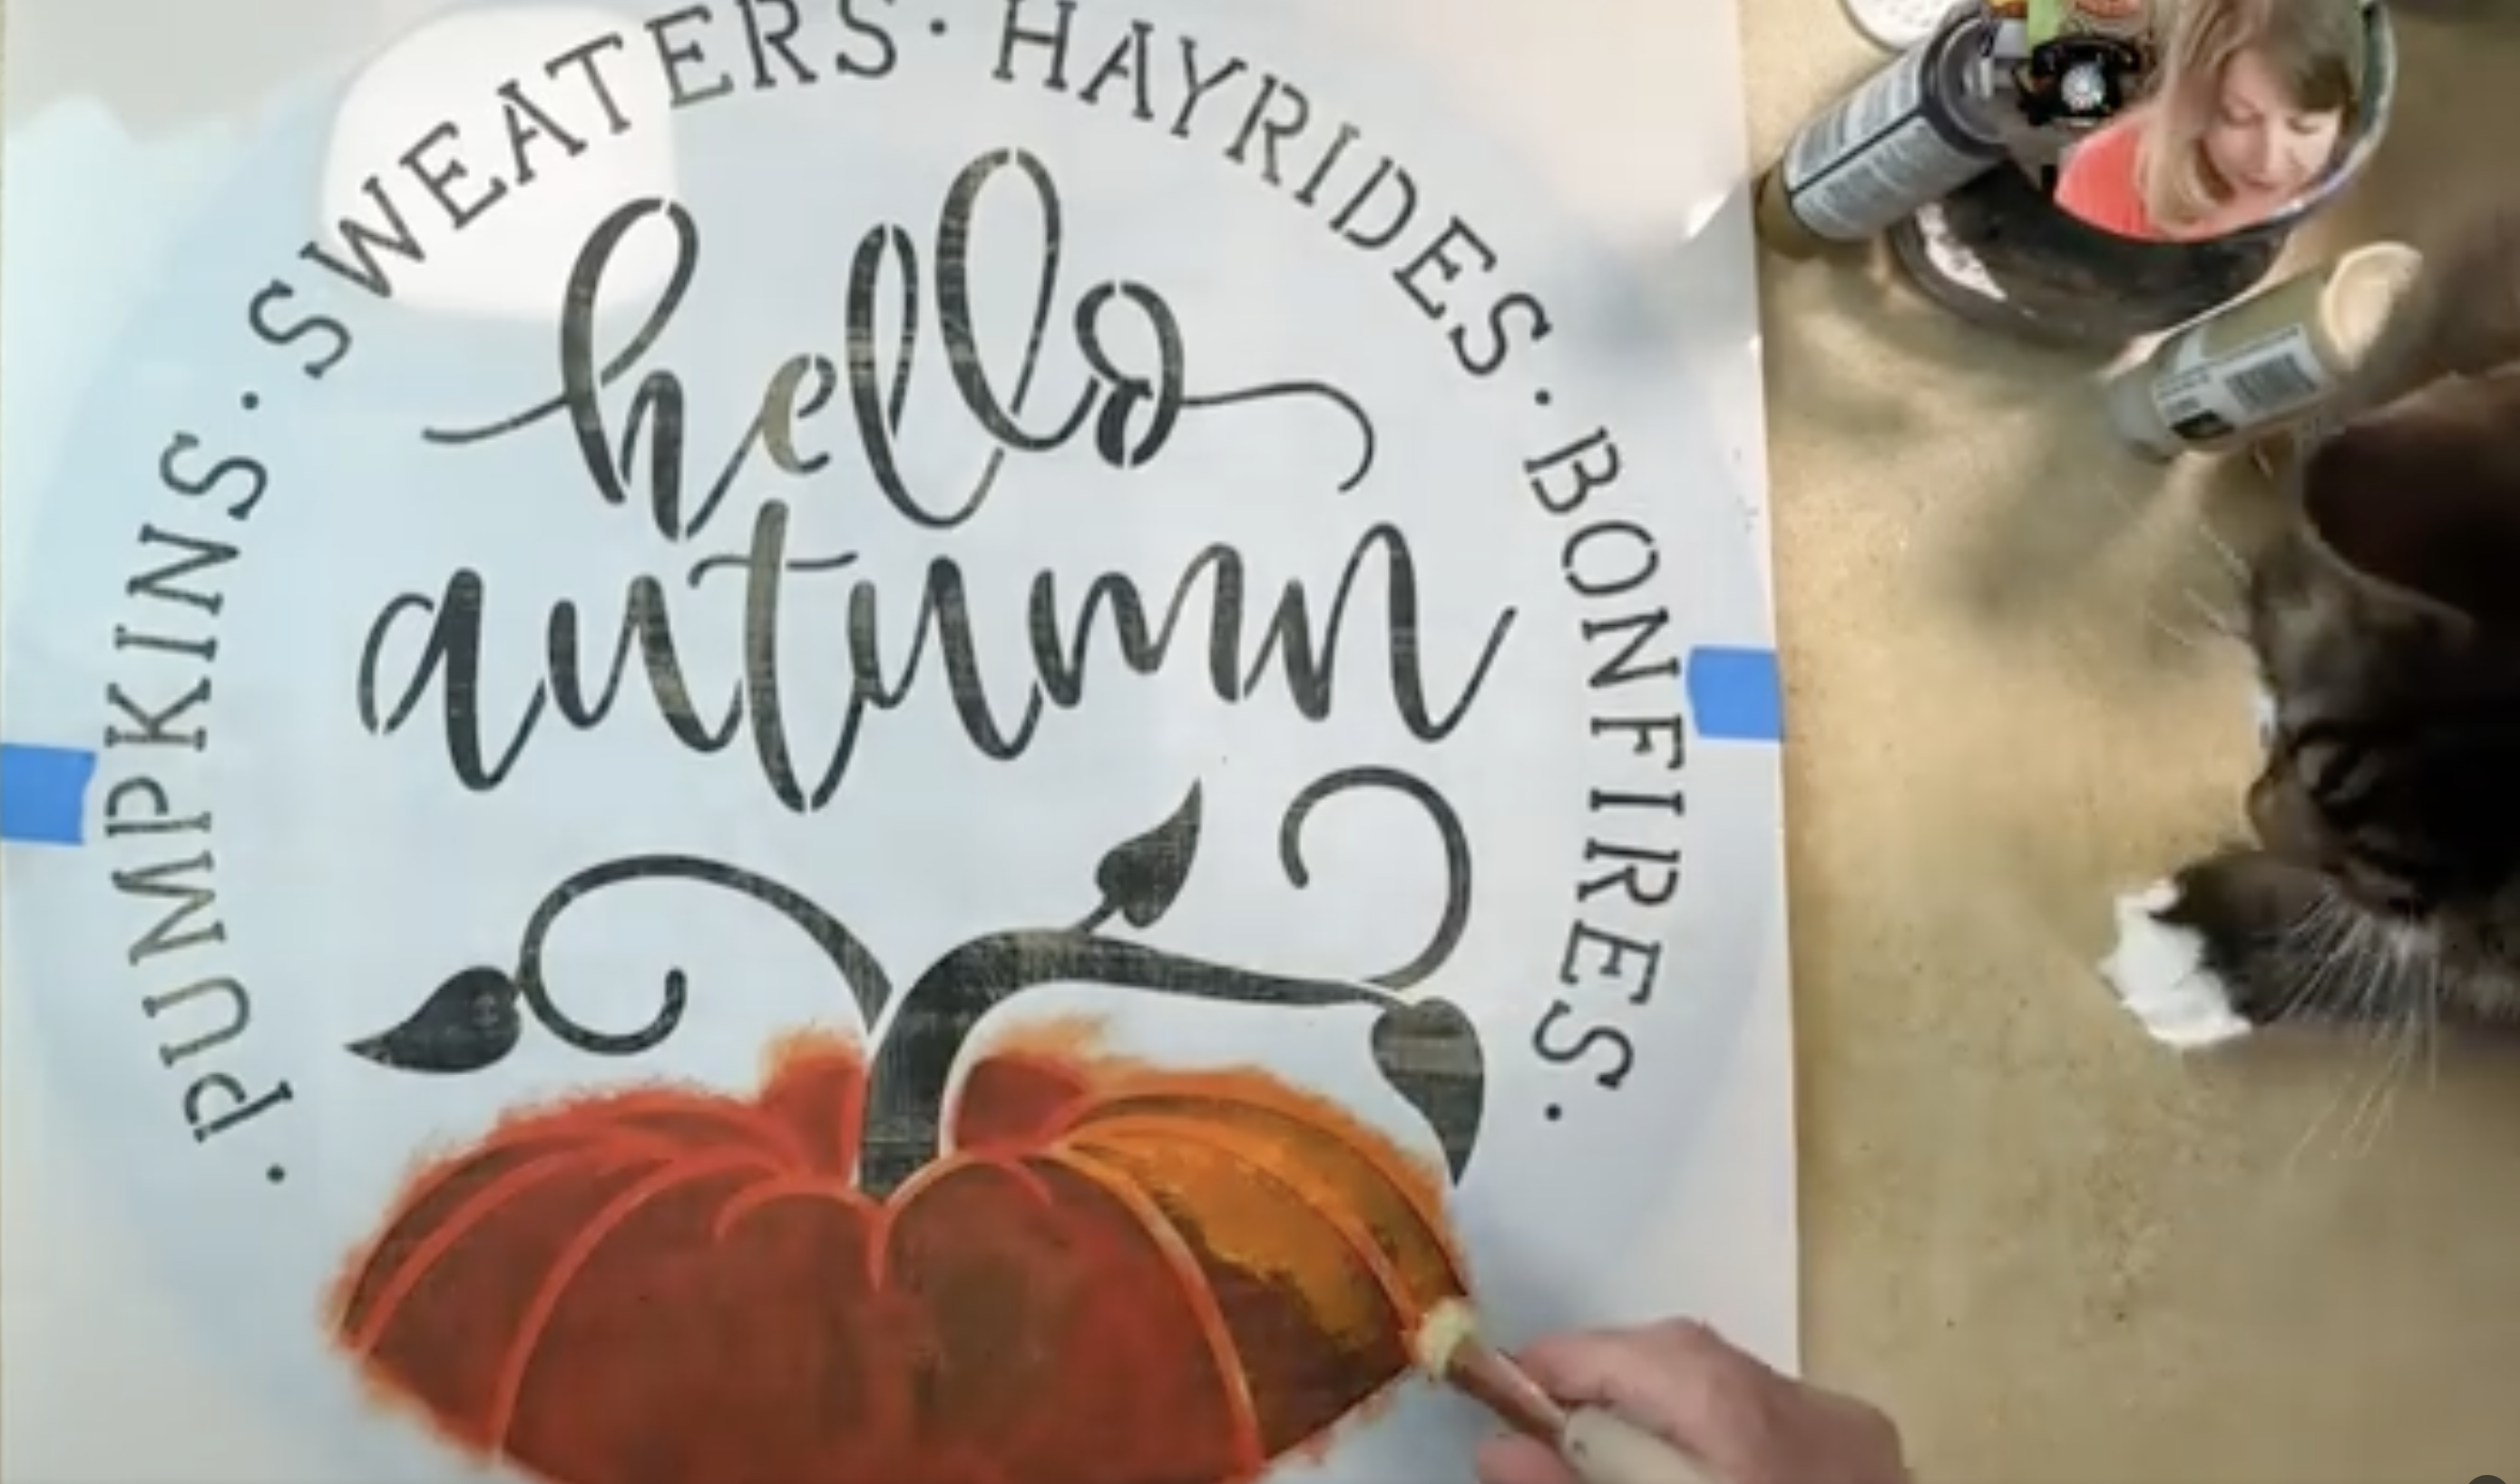
Once your background is dry, it’s time to add the pumpkin. The stencil I used from StencilSmith fits perfectly on an 18-inch round door hanger. Secure the stencil carefully, and then use a stencil brush to apply your colors.
Start with a base layer of vibrant orange (I used Scarlet and Vivid Orange). Use a light tapping motion, building up layers gradually. The key is to avoid using too much paint at once, which can cause bleeding under the stencil. You can also mix in a little white for highlights, giving your pumpkin a nice depth and dimension.
Step 3: Adding Leaves and Vines
Next, add the leaves and vines using a mix of dark and light greens. Again, use a gentle tapping motion, layering colors to create highlights and shadows. Don’t worry about blending everything perfectly—leaving some areas partially blended adds to the rustic, charming look of your piece.
For more detailed lines, such as veins on the leaves, use a smaller round brush (size 4) or a liner brush for finer strokes.
Step 4: Lettering and Highlights
For the “Hello Autumn” lettering, use the same stencil technique with a bright orange and offload your brush to avoid too much paint. Layer lightly and gradually to make the letters pop.
Finally, add subtle highlights with a mix of white and orange to the pumpkin and leaves, enhancing the dimension and giving it a soft, autumn glow. Remember, you can always tweak and add details until it feels just right!
Tips for Success
- Experiment with texture: Don’t stress about a perfect base; rough or layered backgrounds can add charm.
- Layer gradually: When stenciling, apply paint lightly in layers to prevent bleeding.
- Highlight selectively: Add white or lighter colors where light naturally hits your pumpkin or leaves.
- Have fun: Embrace imperfections—they often make your project look more handcrafted and unique.
And there you have it—a beautiful “Hello Autumn” door hanger ready to welcome the season! If you’d like to watch this tutorial come to life, you can do so here. This stencil is available from StencilSmith, a fantastic U.S.-based company with high-quality stencils in various sizes. Use the code ARTSYMOON for 15% off. Thanks for hanging out with me today—happy painting, and enjoy creating your own autumn masterpiece!
Stay connected with news and updates!
Join our mailing list to receive the latest news and updates from our team.
Don't worry, your information will not be shared.
We hate SPAM. We will never sell your information, for any reason.
