
Create a Stunning Beach-Themed Stencil Sign
Aug 21, 2025
Hi friends! It’s Karen here from Over the Artsy Moon, and today I’m sharing a fun and relaxing stencil project that’s perfect for bringing some beach vibes into your home. I recently tried out a beautiful two-layer stencil from The Stencilsmith, and I’m excited to take you along as I create a vibrant “The Beach is Calling” sign.
Getting Started with the Base
I started by painting a warm sandy base on an 18-inch MDF round — using a blend of DecoArt White, Warm Beige, and FolkArt Camel to get that perfect beach sand tone. It dries quickly, which is great for moving on to the next step without waiting too long.
Tools and Tips: Brushes & Stencils
I also tested some new stencil brushes from The Stencilsmith, which have soft, sturdy bristles—perfect for dry brushing. Pro tip: when stenciling, don’t wash your brush between colors. Instead, load your brush well with paint, but offload most of it on a paper towel before applying to avoid bleeding under the stencil. I love using a dry brush technique with little circular motions to get crisp lines and beautiful texture. Don’t forget that when you purchase a stencil from TheStencilsmith.com you can get 15% off with my affiliate code, ARTSYMOON.
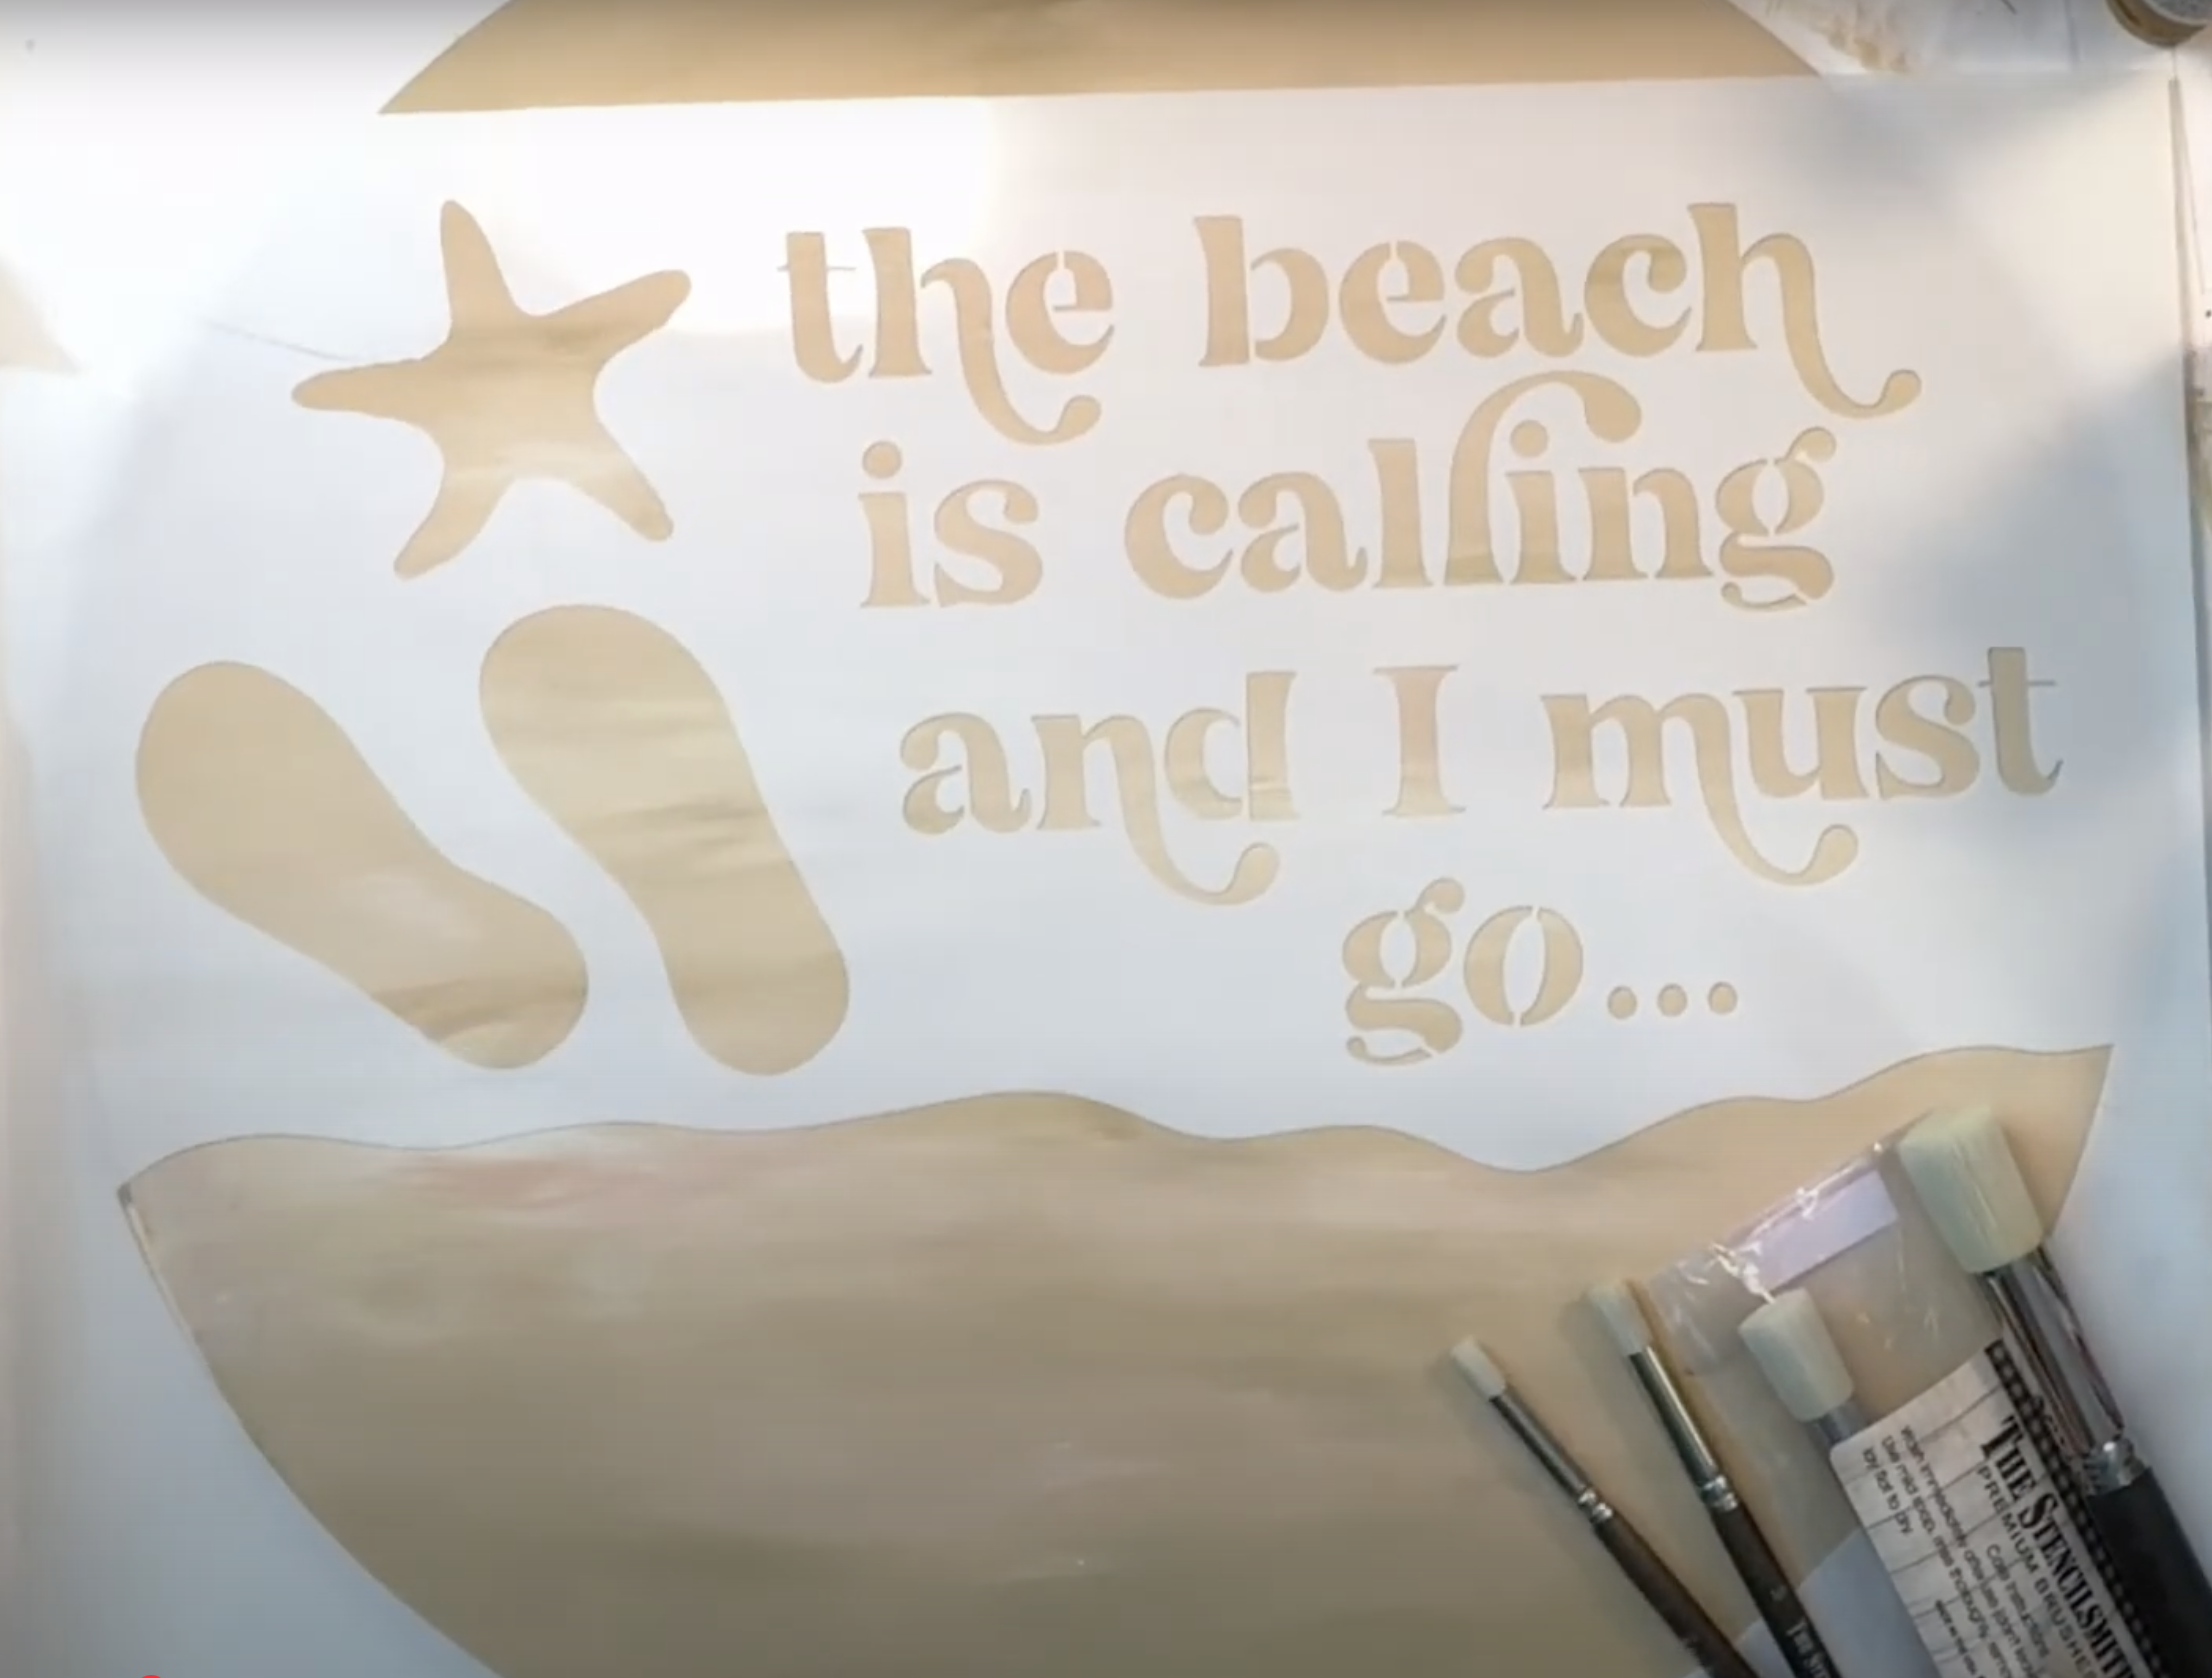
Layering the Stencil
This stencil comes in two parts — a base layer and an overlay for details like coral starfish and turquoise flip flops. To keep everything in place, I taped down the stencil to avoid shifting (which I admit I’m usually bad at, but today I was careful!).
For the starfish, I chose a coral blush color, layering lighter shades with small circular strokes to create dimension and texture, much like you’d see on a real sea star. For the flip flops, I asked my viewers for input and ended up using a darker turquoise that complements the water colors nicely.
Adding Texture & Dimension
To make the sand and water feel more lifelike, I varied the paint saturation—some areas are more translucent, letting the base show through, while others are more solid. This approach gives a dappled light effect, like sunlight dancing on the shoreline.

For the water, I combined shades of minty “Whispering Turquoise” and a deeper turquoise, tapping and swirling the paint to create the look of gentle waves.
Fixing Mistakes on the Fly
If you ever get too much paint on your brush and it bleeds under the stencil, no worries! I quickly wiped off mistakes with a baby wipe—stencils are forgiving that way, especially if you catch it early.
Why I Love The Stencilsmith
I’m really impressed with the quality and design of these stencils. They don’t run out of stock, and they’re made by a family business in the Midwest, which makes me feel good supporting them. Plus, if you want to try one yourself, you can get 15% off with my code ARTSYMOON at TheStencilsmith.com.
Final Touches and Big Reveal
After finishing the last layers, including the little white dots to brighten and add dimension, I peeled back the tape for the big reveal. The phrase “The Beach is Calling and I Must Go” stands out beautifully against the textured sand and ocean background, complete with colorful starfish and playful flip-flops.
This quick project comes together easily and makes a perfect gift—or a delightful treat for yourself to bring a little sunshine indoors.

Thanks for Hanging Out!
Thanks so much for joining me on this creative journey. You can watch the replay here on my YouTube channel. If you want more painting fun, be sure to check out my membership, The Artsy Moon Paint Club, where you get access to 150+ exclusive tutorials and projects. Happy painting and beach dreaming!
Stay connected with news and updates!
Join our mailing list to receive the latest news and updates from our team.
Don't worry, your information will not be shared.
We hate SPAM. We will never sell your information, for any reason.
