
DIY Painted Door Mat for Fall
Oct 15, 2025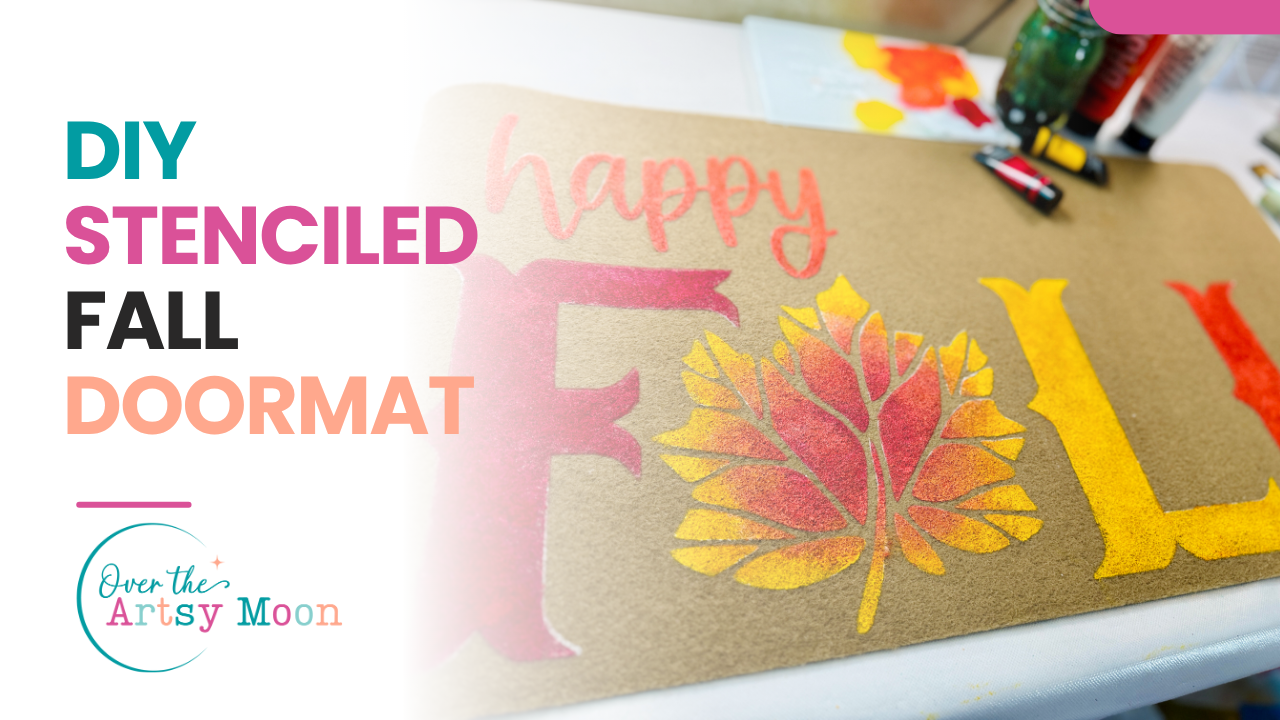
Hey there, it’s Karen from Over the Artsy Moon! If you’ve ever wanted to paint your own door mat, today’s your day because I’m showing you how to make a “Happy Fall” mat that’ll bring a cheerful, handmade touch to your front porch this season!
Getting Started
For this project, I used a stencil from The Stencil Smith. Since I’m an affiliate with them, you can grab your own stencil and get 15% off with the code ARTSYMOON. Please note that I might receive a small commission if you choose to use my coupon code.
Although the stencil was originally meant to be a porch leaner design, I thought it would look adorable on a mat instead. Sometimes it’s fun to use your stencils in creative new ways!

Supplies I Used
Here’s what I pulled together for this project:
- Liquitex Basics acrylic tube paints (use any colors you have available)
- A 1-inch chip brush from The Stencil Smith – these brushes are firm, easy to wash, and perfect for stenciling
- Painter’s tape to hold the stencil in place
- A coir mat with a rubber backing (mine was on the thinner side, which actually makes it easier to paint than those super-thick bristly ones)
Let’s Paint!
To start, I placed the stencil so the word Happy would go at the top and Fall would sit below it. It’s a tight fit, but totally doable! Just make sure you leave about an inch of border space on the edges before taping everything down.
When stenciling, I always work in light layers especially on textured surfaces like a mat. You don’t want the paint to bleed under the stencil! I used an up-and-down stippling motion, gently dabbing my brush to build up the color.
Pro Tip: Don’t wet your brush. Keep it dry so the paint doesn’t run.
After the first coat of white, I let it dry a bit, then added another layer to make it pop. If you get impatient (like I sometimes do), you can use a hairdryer to speed up the drying time!
Alternatively, you might wish to skip the white layer and go right to the brighter colors if you’re in a time crunch.
Adding the Details
Once the base lettering was done, I switched to a smaller round brush (around size 3 or 4) to add extra details and color to the letters and edges. Just pull and twist the brush for those clean, curved strokes.
You can keep things classic with white letters, or get creative and add fall colors like burnt orange, mustard yellow, or deep brown for a more rustic vibe.
Final Touches
When you’re done, peel off the stencil carefully and admire your new Happy Fall mat! It’s such a fun, inexpensive project — and it makes your front porch feel extra cozy and welcoming.
If you want to give this DIY a try, you can watch the replay on my YouTube channel here. I hope you enjoy it as much as I did! Check out the description under the video for specific product details.
Stay connected with news and updates!
Join our mailing list to receive the latest news and updates from our team.
Don't worry, your information will not be shared.
We hate SPAM. We will never sell your information, for any reason.
