Get Creative with Gelli Printing: A Beginner-Friendly Guide to Monoprint Magic
Jun 12, 2025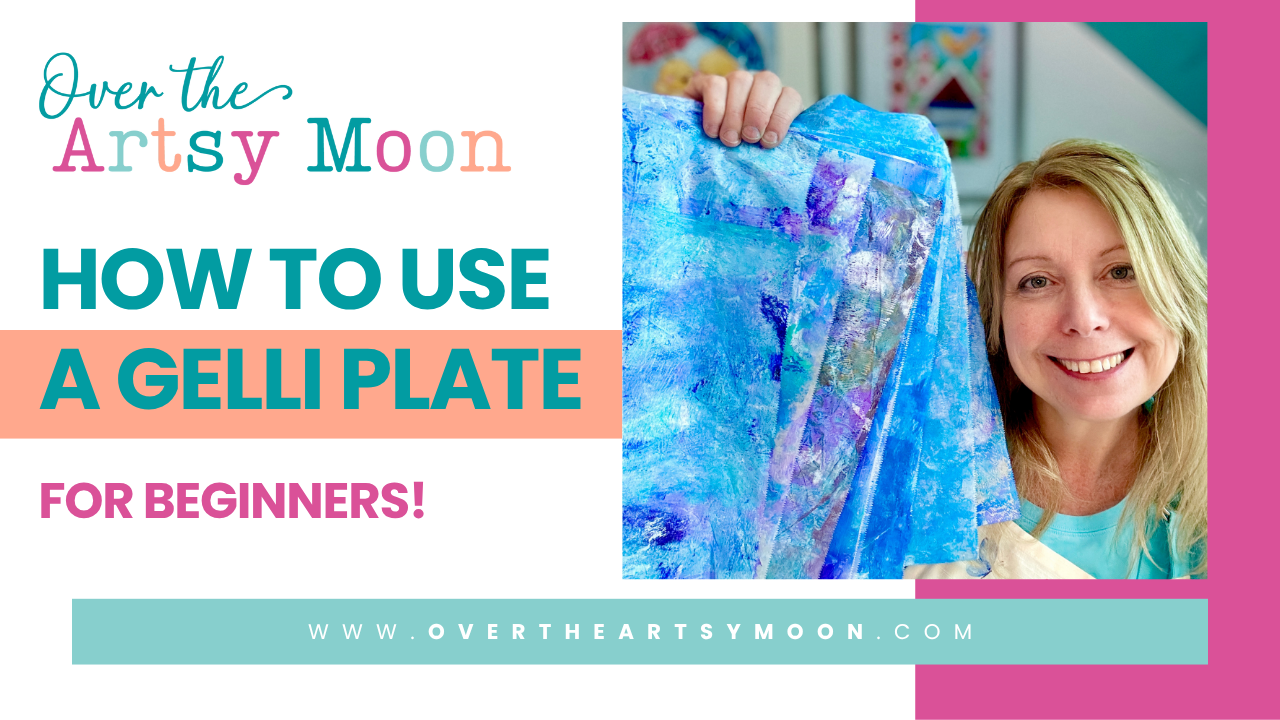
Hey friends! Karen here from Over the Artsy Moon, and today I’m diving into one of my all-time favorite art techniques—gelli printing! It’s a fun and easy way to make colorful, layered prints using a soft, reusable surface called a gel plate. This process falls under the umbrella of monoprinting, which simply means creating a one-of-a-kind print—no two are exactly alike! If you’re looking for a simple, playful, and totally unique way to create beautiful backgrounds and patterns, this technique is a game-changer!
What Is Gelli Printing?
Gelli printing is a form of monoprinting, meaning each print is one-of-a-kind. You’ll never get the exact same design twice—and that’s part of the magic! Whether you’re going for vibrant color blending, soft textures, or layered effects, gelli printing gives you a playground for experimentation.

Supplies You’ll Need
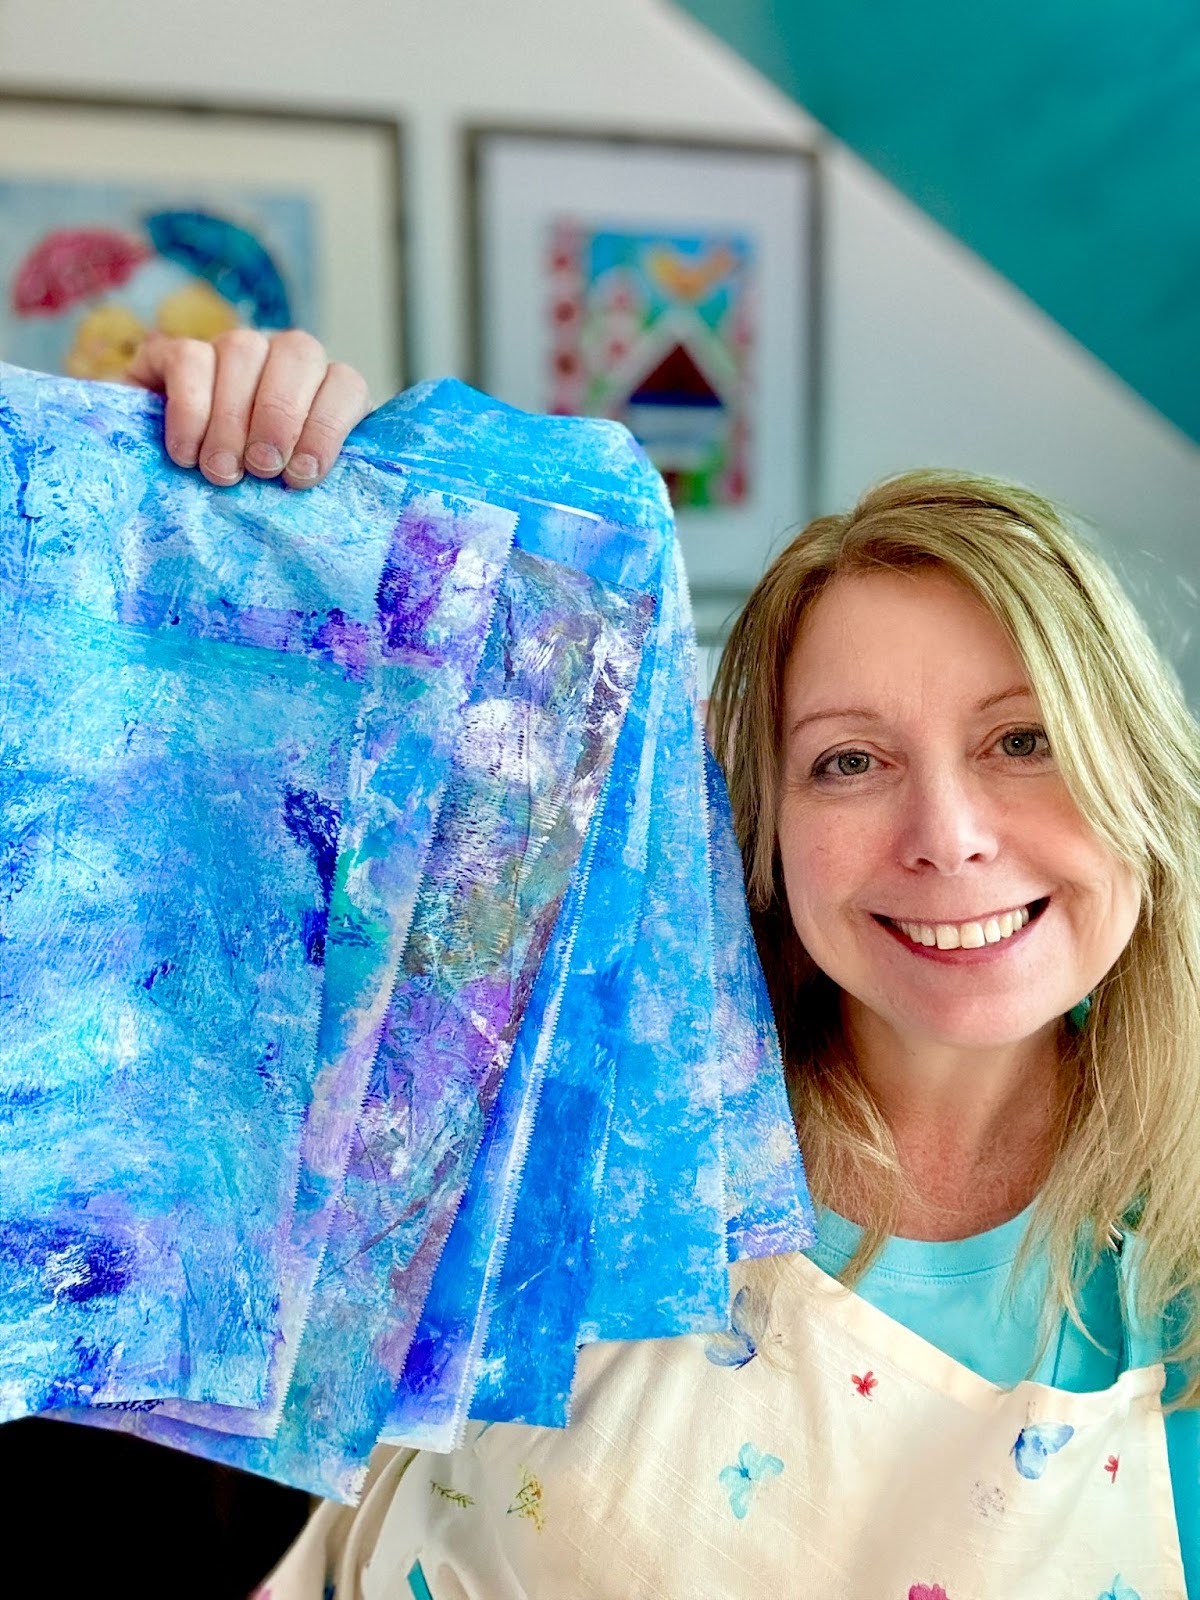
- Gel Press or Gelli Plate: I’m using a 12x12 gel plate I’ve had for years. It’s reusable—just be sure to clean it!
- Brayer: This rolling tool helps you spread paint smoothly.
- Paints: I recommend thicker acrylic paints in tubes (I used brands like Liquitex and Artist Loft).
- Paper: My go-to is deli paper (yep, like from a sandwich shop!). The brand I’m using is Marcel Jumboiz Interfolded Dry Wax Paper—it works beautifully and comes in large quantities.
- Optional: Color wheel for reference, stencils, bubble wrap, metallic paints, plastic gloves, or any texture tools for added flair.
Let’s Get Started: Sky-Themed Prints
For this demo, I kept it simple with “sky colors”—shades of blue, purple, and a touch of white. Here's the step-by-step process:
- Squeeze your paint directly onto the gelli plate—don’t overdo it! A little goes a long way.
- Use your brayer to roll out the paint. You can blend as little or as much as you want. Less blending gives you fun surprises; more blending gives you smoother transitions.
- Lay your paper down quickly before the paint dries (acrylic dries fast!). Press firmly and evenly.
- Peel it up—the reveal is the best part! 🎉
If you pull a second print using the leftover paint, that’s called a ghost print. It’s softer and more subtle but still so pretty!
Tips for Even More Fun
- Add stencils, texture tools, or bubble wrap before printing to create depth and interest.
- Don’t be afraid to wrinkle your paper or layer prints on top of each other once they dry.
- Try color mixing experiments—it’s a great way to learn! For example, yellow and purple will give you a warm neutral or mustardy tone.
Keep It Playful
Don’t worry about perfection—just have fun! I’ve created backgrounds and ripped paper for art journals, collage work, and even kids' projects using this technique. It’s messy (in the best way), freeing, and truly addictive.
If you’re loving this, let me know! I’d be happy to do a follow-up post using stencils or metallics to take your gelli printing to the next level. If you’re more of a visual person, be sure to check out this YouTube video where I walk you through this process!
Until next time—keep creating and don’t forget to play with your colors!
Looking for More Creative Fun?
If you loved this project and want to keep the inspiration flowing, come join the Artsy Moon Paint Club! Each month, you'll get exclusive tutorials, fresh ideas, and a supportive creative community to cheer you on. Whether you're a seasoned artist or just getting started, there's a spot for you. Click here to learn more and join the club today!
Stay connected with news and updates!
Join our mailing list to receive the latest news and updates from our team.
Don't worry, your information will not be shared.
We hate SPAM. We will never sell your information, for any reason.
