A Sneak Peek at Our New Sea Turtle Painting + Easy Bow & Bubble Techniques!
May 23, 2025
Hey creative friends! It’s Karen here with Over the Artsy Moon, and I am so excited to share a peek at the newest painting heading to the Artsy Moon Paint Club very soon! If you love sea turtles, vibrant colors, and fun painting techniques, you are going to adore this one.
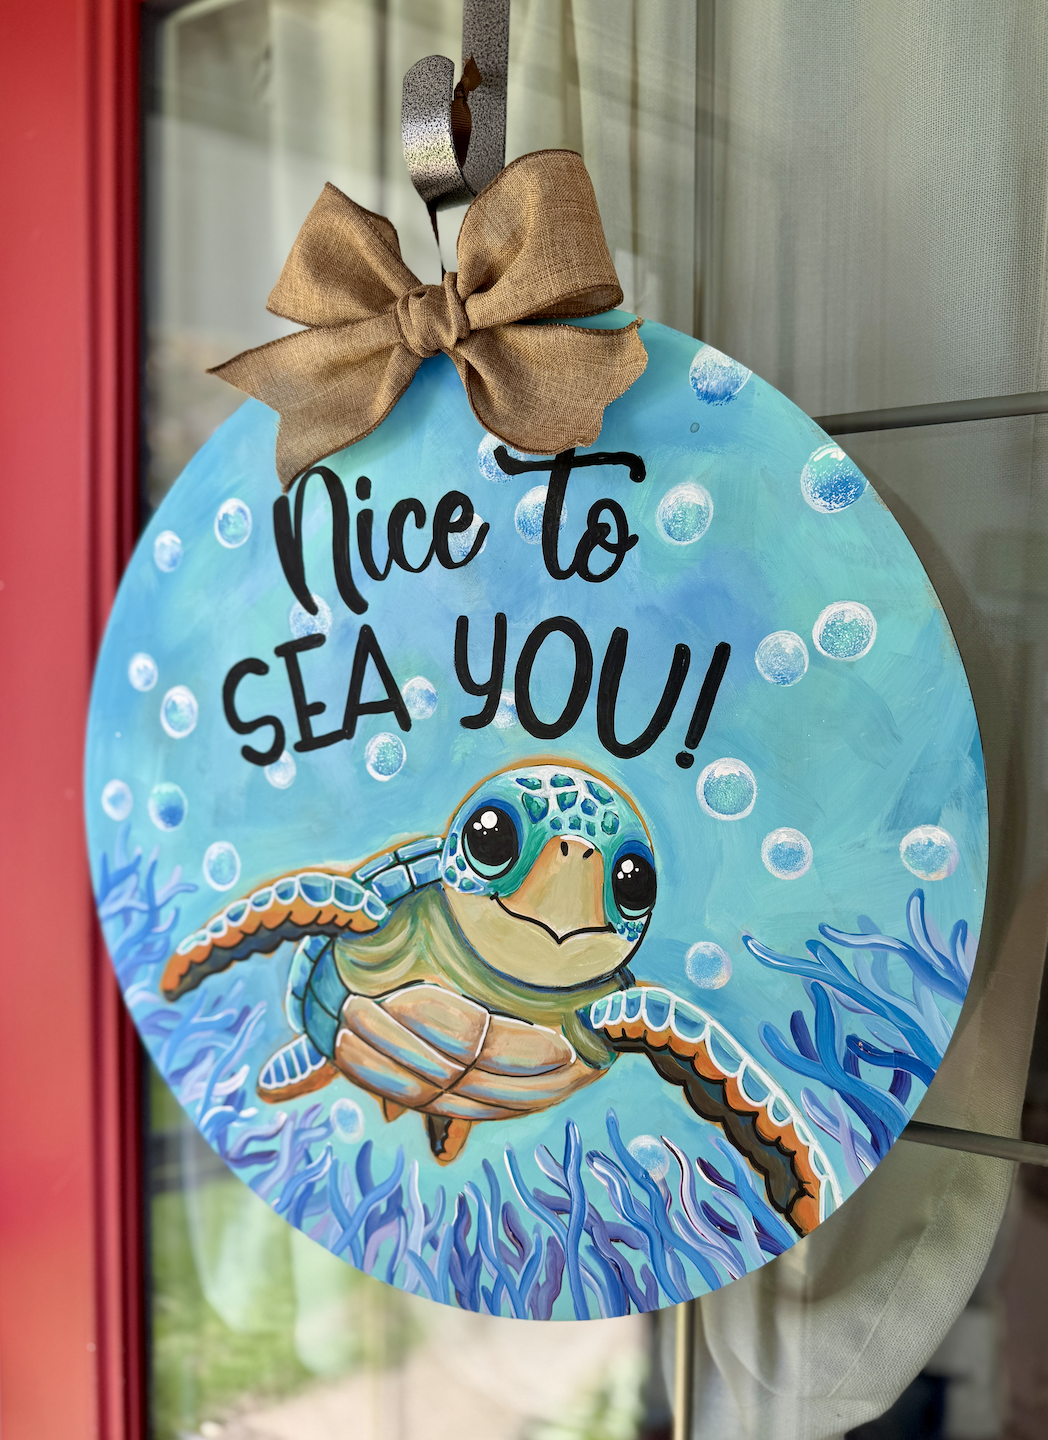
Meet the Newest Member of the Artsy Moon Paint Club: Nice to Sea You!
This painting is exclusively available to members in my Artsy Moon Paint Club! It features the cutest little sea turtle—whimsical, colorful, and perfect for summer. Whether you choose to paint it on canvas or as a door hanger, this one is sure to make a splash. I used fun shades of blue and green (yes, I know sea turtles aren’t normally those colors—but we’re embracing our artistic license here!). If you prefer more realistic or neutral tones, you can totally customize it your way!
How to Add a Simple Bow to Your Door Hanger
If you're like me, you usually keep things simple. But sometimes a little ribbon adds the perfect touch! I showed how to tie a basic bow using regular ribbon—just like tying your shoes as a kid.
There’s no need to get fancy with it. Here’s a quick overview:
- Tie a Basic Bow – Keep it loose and adjust as needed.
- Use a Template – I created a simple bow placement template using a piece of plastic with two holes about 6 inches apart. It helps align everything neatly.
- Make a Hole – I used a Crop-A-Dile (yep, that’s how it’s spelled!) to punch a hole at the top of the hanger. You could also use a drill or staple the ribbon from the back.
- Thread & Secure – Thread your ribbon through and tie or glue it in place.
- Trim the Ends – Wired ribbon works great for shaping. A quick snip on the ends, and you’re good to go!
It’s nothing fancy, but it adds that extra bit of charm to your finished project.
Let’s Talk Bubbles
Want to know how to paint adorable bubbles that look effortless? I’ve got you covered. You can use pouncers (foam tools that make circle shapes) or even just go freehand. In the video I shared on my YouTube channel, I demonstrate both options so you can choose what works best for you.
How to Use Pouncer for Bubbles
If you're using a pouncer, start by dipping the largest one into white paint and applying it to the turtle background where you want the bubbles to be. Then, take the next smaller size pouncer and load it with a mix of light blue and a touch of dark blue paint. Gently press it on top of the white circle. This technique helps soften the edges and blend the bubble into the background, creating a more realistic, airy effect.
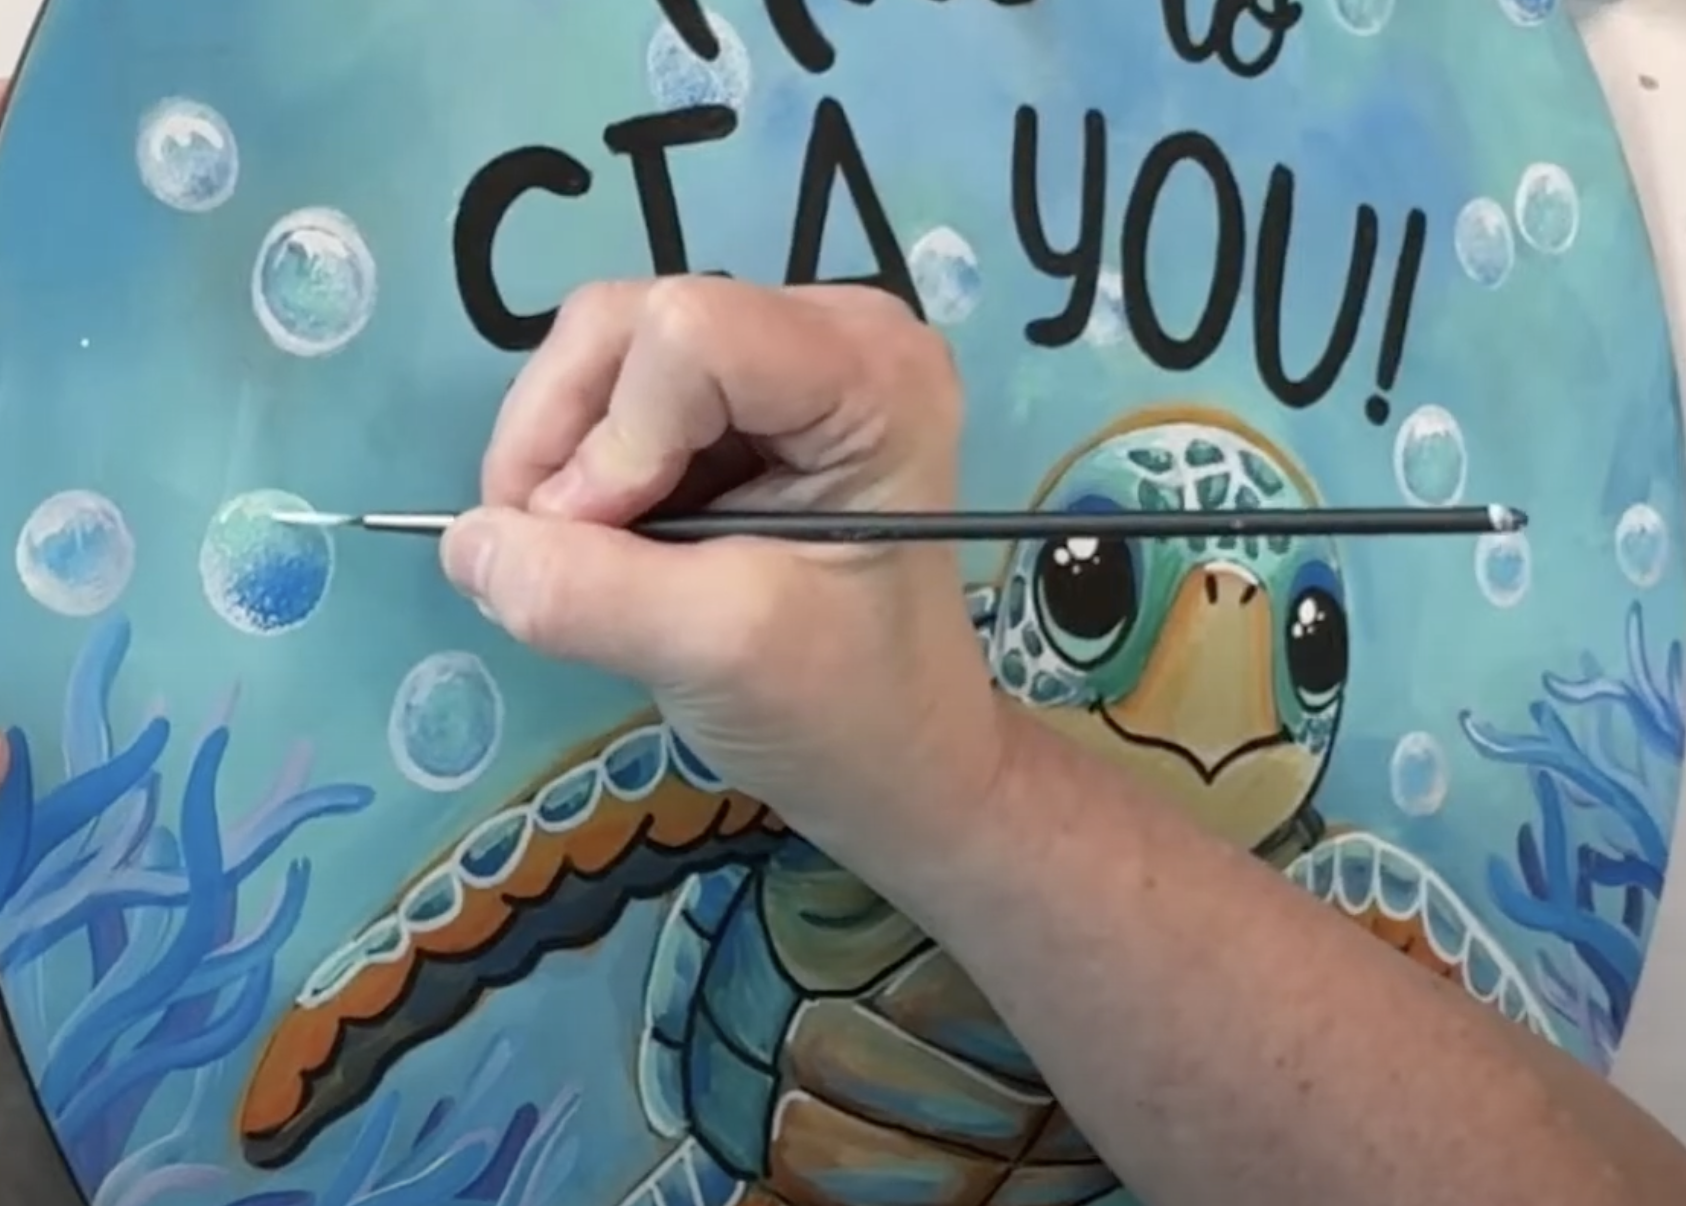
Free Handing the Final Touches
To finish off the bubbles, I use a paintbrush and a bit of white paint to highlight the edges. This simple step really brings out the details and adds beautiful depth and dimension. Once the highlights are in place, your bubbles are ready to float right off the canvas!
This One’s for the Club!
This baby sea turtle project is heading to the Artsy Moon Paint Club. So if you're a member, get excited! All the tracers, step-by-step videos, and bonus tips (like that bow template!) will be waiting for you in the portal.
Not a member yet? This is a great time to join. You can learn more and join our creative community here. We have a suggestion space where members can request what they'd love to paint next—and this sea turtle was one of the most requested designs!
Art should be fun, approachable, and a little playful—and that’s exactly what this project is. Whether you’re painting for relaxation, decorating your home, or creating handmade gifts, I hope this design brings a smile to your face and a splash of joy to your day!
Stay connected with news and updates!
Join our mailing list to receive the latest news and updates from our team.
Don't worry, your information will not be shared.
We hate SPAM. We will never sell your information, for any reason.
